
Last updated September 23, 2026
Free visual inspection and a written scope of work before any mitigation begins - photos, moisture readings, and drying logs go in your claim file
The scope we write is the scope we bill. Anything new gets shown to you, in writing, before we touch it.
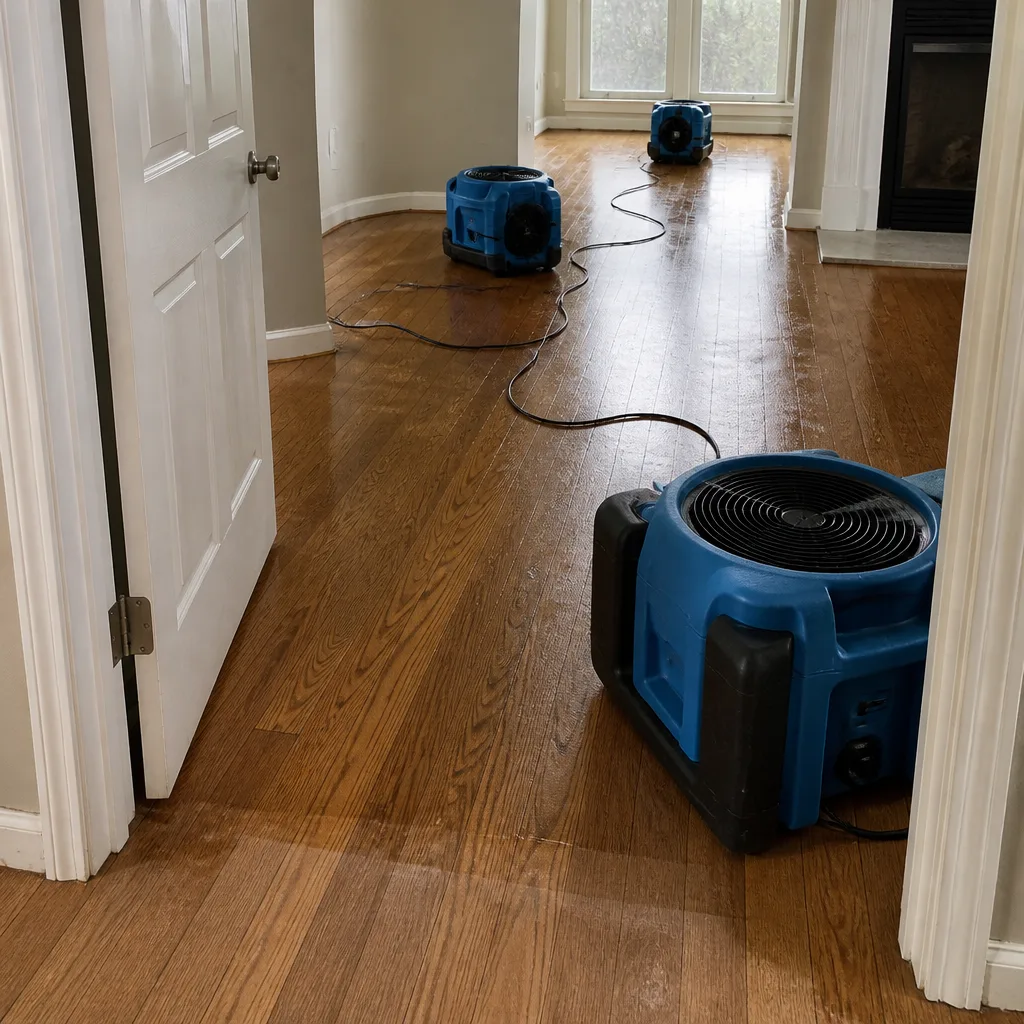
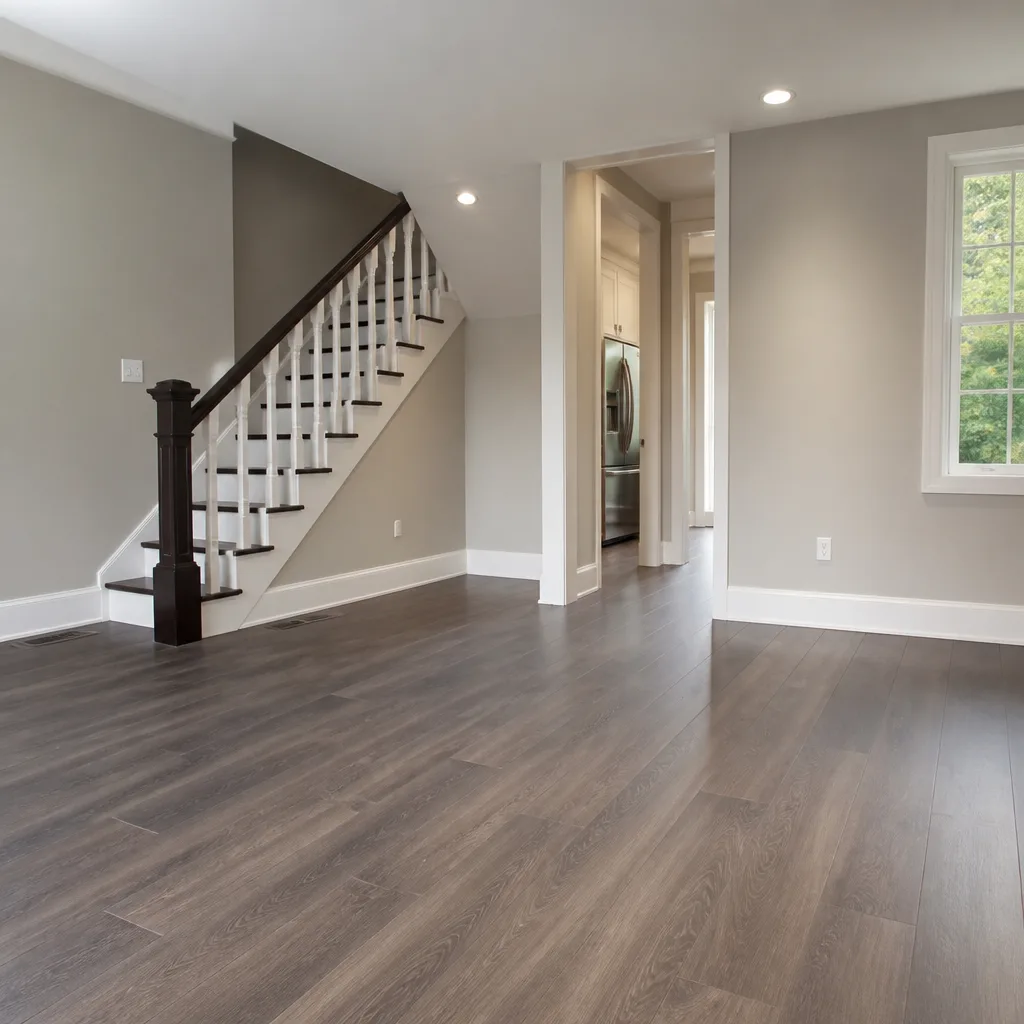
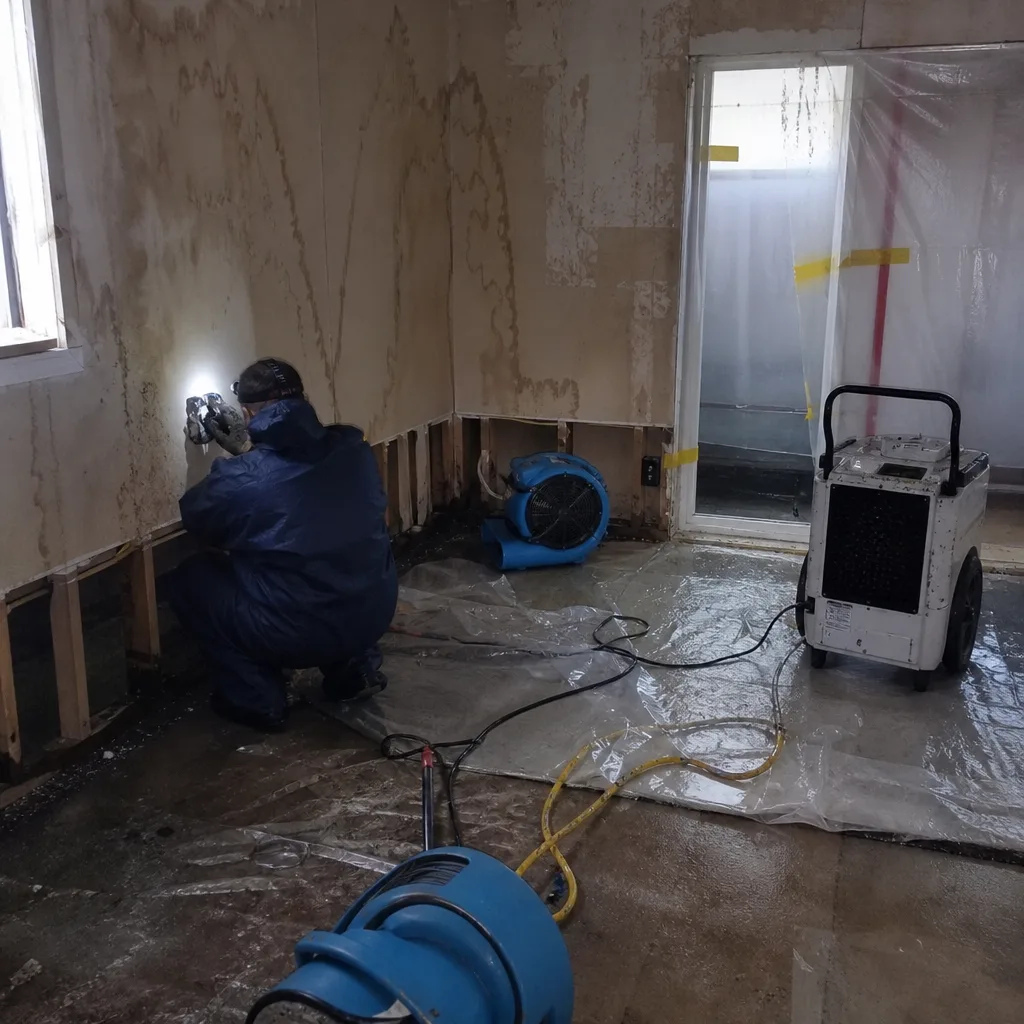 Before
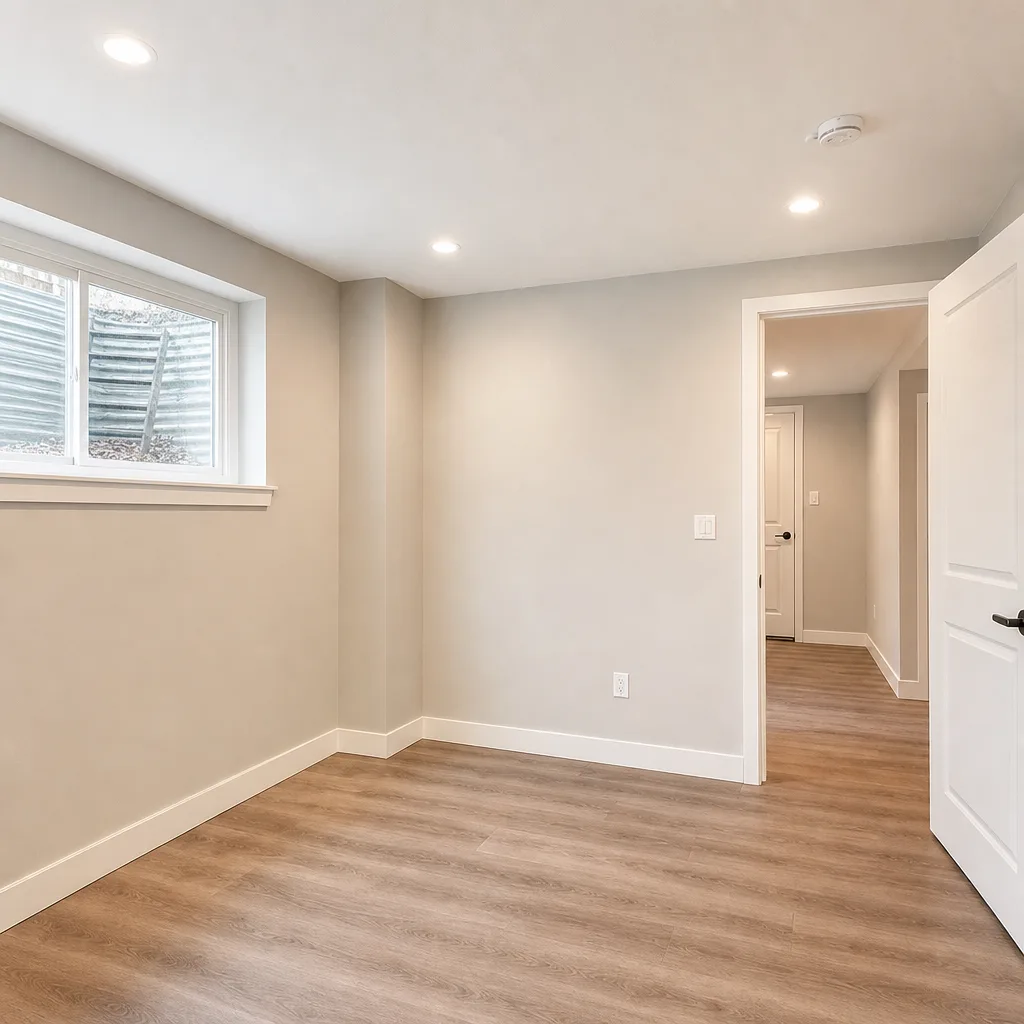 After
After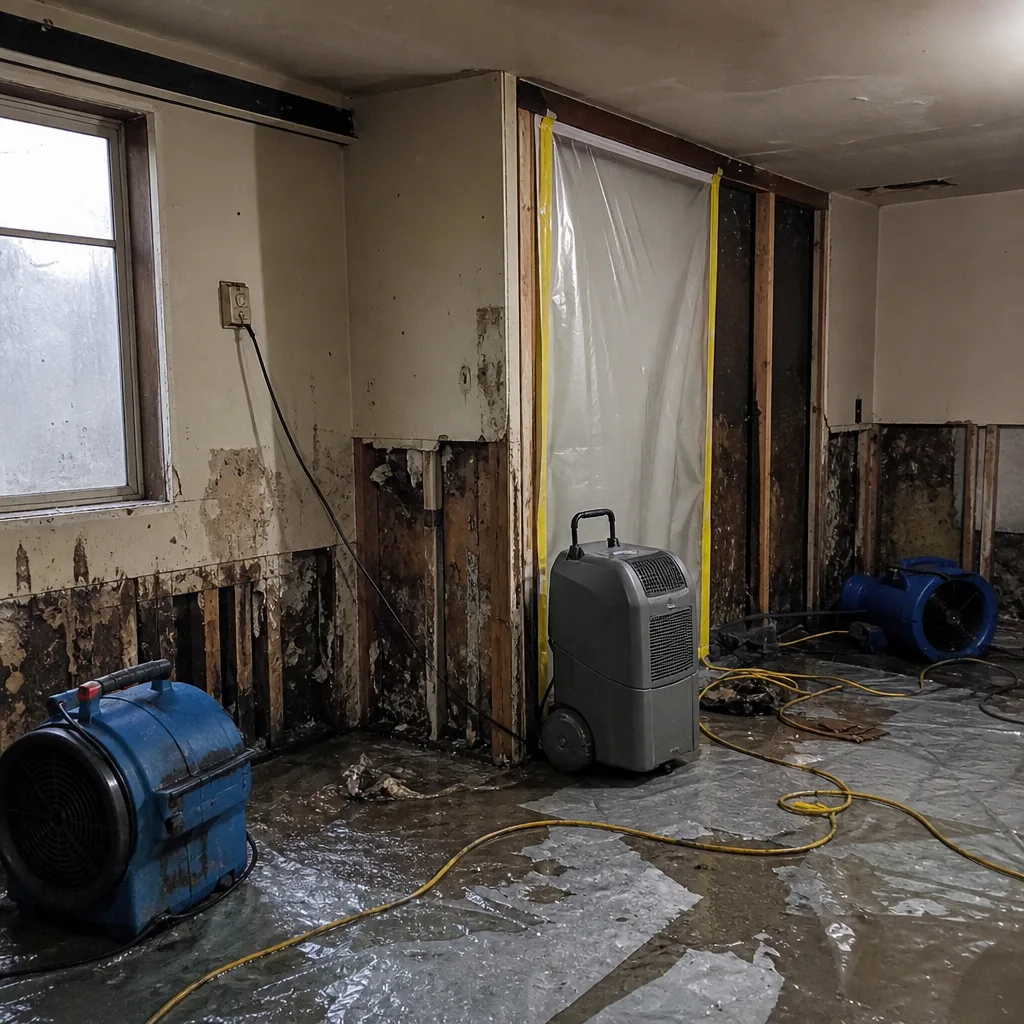 Before
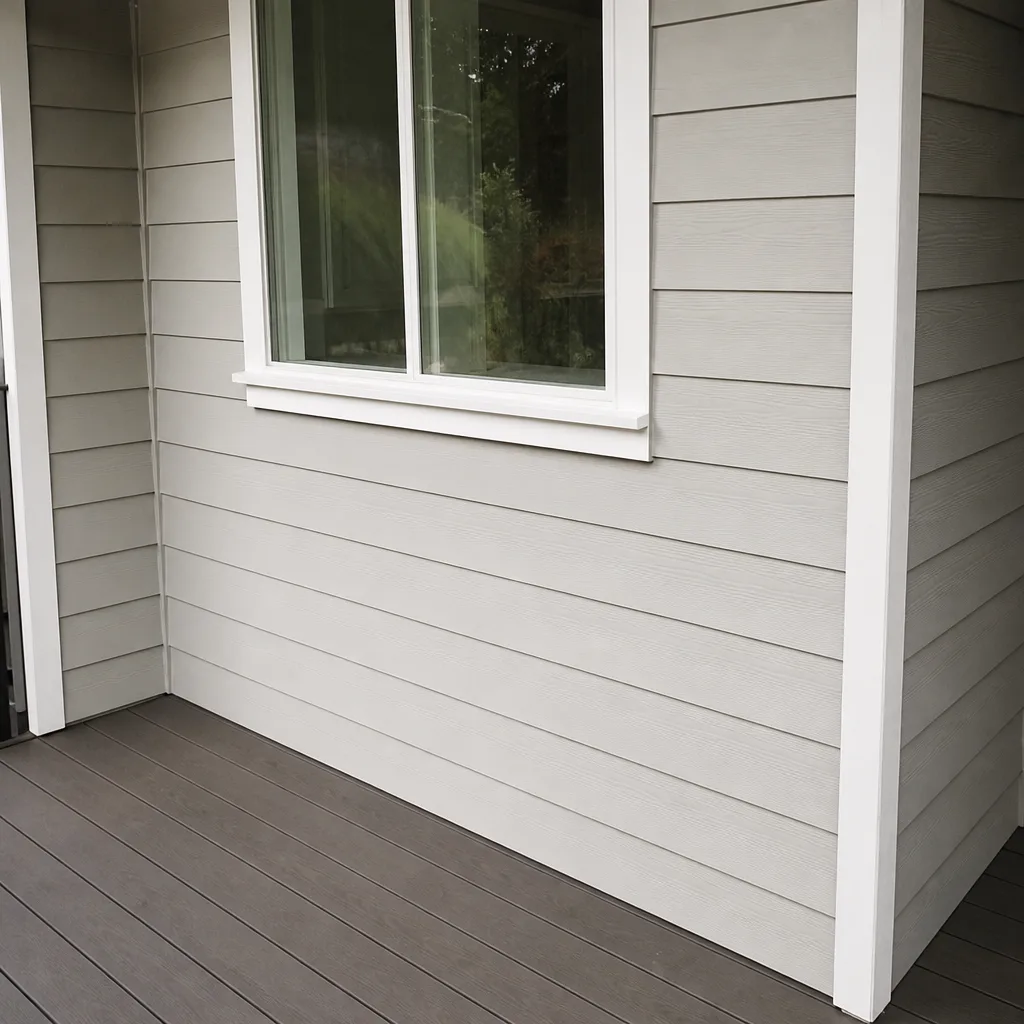 After
After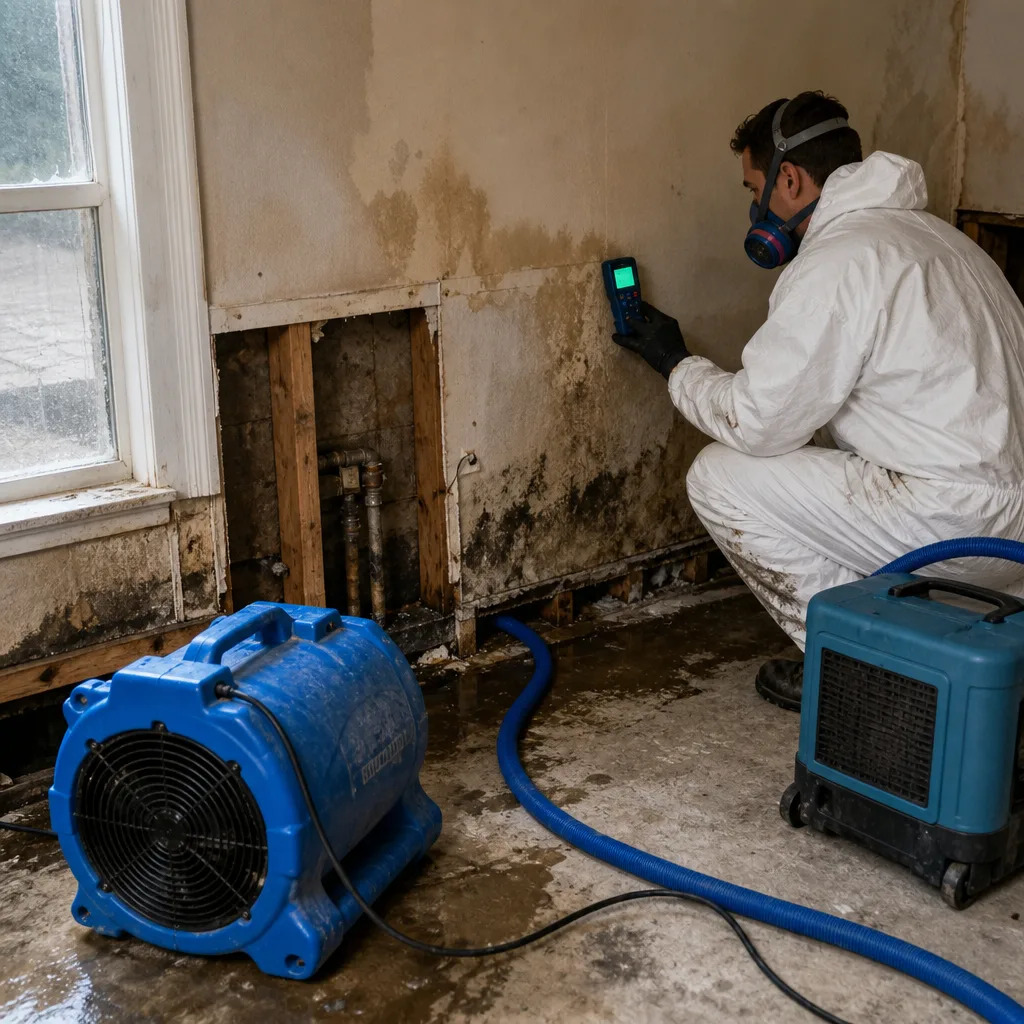 Before
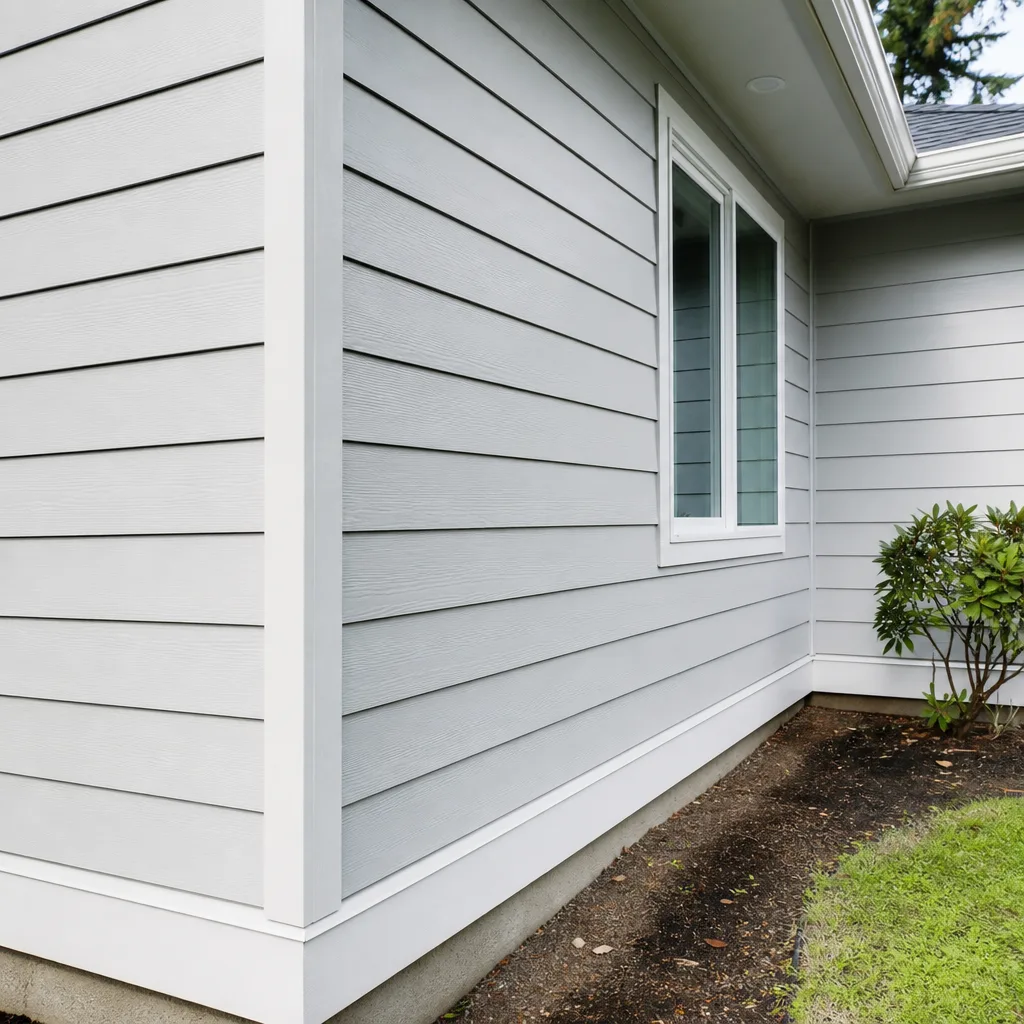 After
AfterDIY vs Professional Damage Restoration: The Kent Homeowner’s Decision Guide
A Kent homeowner who rents a consumer dehumidifier and dries their own flooded basement can pass a visual inspection and still have a subfloor at 22% wood moisture content. That’s within tolerance for mold growth, invisible to the naked eye, and completely undocumented. In this guide, we’ll show you the measurable criteria that separate a safe DIY cleanup from a future liability, the equipment performance gap that determines whether your structure actually dries or just looks dry, and the three documentation outputs that determine whether your insurer pays and your home sells.
Quick Answer
DIY damage restoration is appropriate only for Category 1 water affecting less than 10 square feet of non-structural materials with no insulation, subfloor, or wall cavity involvement. For everything else in Kent’s climate, hiring a damage restoration contractor produces the documentation that insurers require and home inspectors verify, while consumer-grade equipment lacks the air-movement capacity and psychrometric control to dry structural materials before microbial growth begins.
Table of Contents
- The Equipment Performance Gap: What Consumer Dehumidifiers Actually Remove in Kent’s Climate
- The Insurance Reality: When DIY Costs You Money You Didn’t Need to Spend
- The Three Documentation Outputs DIY Cannot Replicate
- When DIY Genuinely Works: The Measurable Criteria
- How to Evaluate a DIY Attempt That Already Happened
- Health and Safety: What’s Actually in That Water
- Real Cost Comparison: DIY Expenses vs. Professional Pricing in Kent
- Common Mistakes to Avoid
- When to Call a Professional
- Frequently Asked Questions
- The Bottom Line
BeforeAfterThe Equipment Performance Gap: What Consumer Dehumidifiers Actually Remove in Kent’s Climate
Kent sits in the Puget Sound lowlands with average relative humidity between 75% and 85% from October through May. This matters because a dehumidifier’s rated capacity, printed on the box in pints per day, is measured at 80°F and 60% relative humidity. At Kent’s typical winter conditions of 65°F and 80% RH, that same unit’s actual output drops by 40-60%.
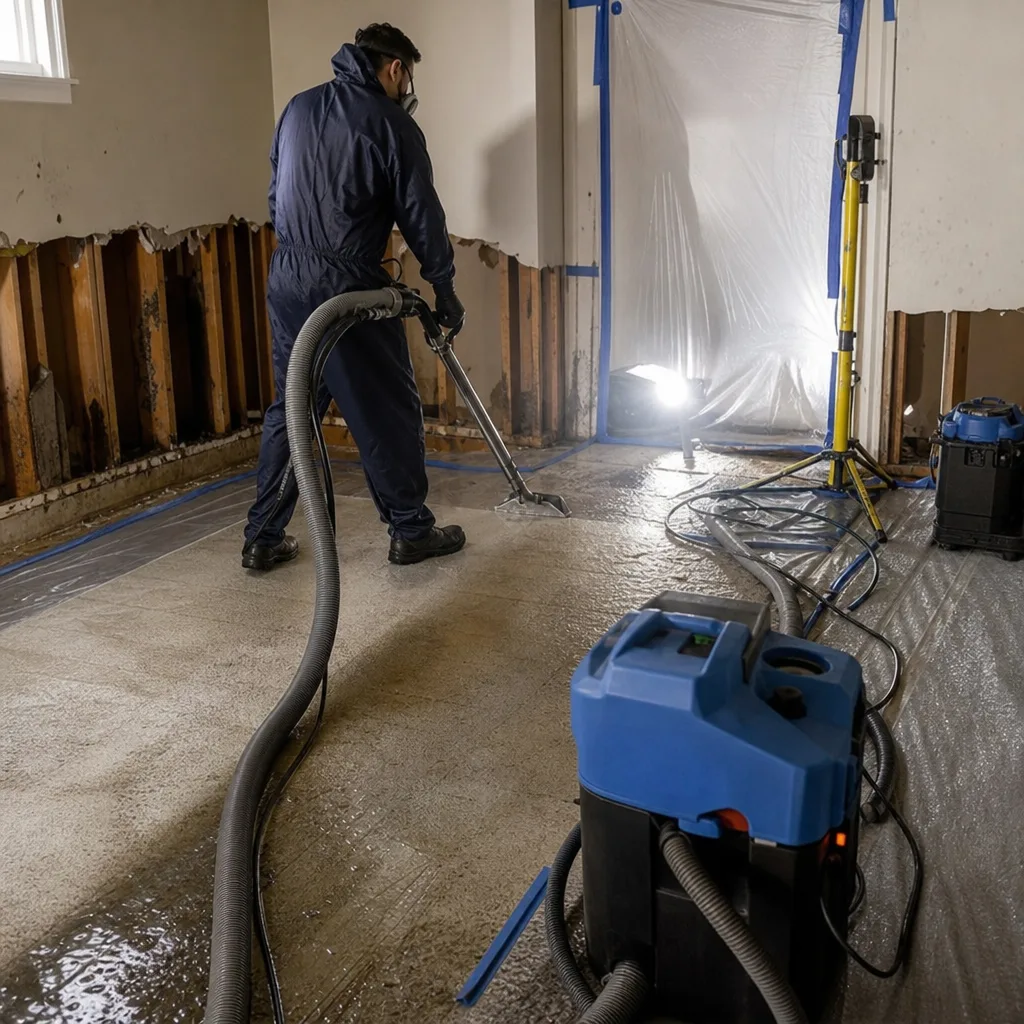
A standard consumer dehumidifier rated at 50 pints per day might extract 20-25 pints in a Kent basement during a typical water loss in November. Our Phoenix 200MAX or Dri-Eaz LGR 7000XLi units, by contrast, maintain rated extraction at lower temperatures and higher humidity because they use low-grain refrigerant technology. An LGR unit pulls vapor pressure down far enough to draw moisture from structural materials, not just the air. Consumer units recirculate humid air without achieving the vapor pressure differential needed for tertiary drying, the phase where bound water releases from wood and concrete.
The air movement gap is equally significant. A consumer box fan moves roughly 1,500 cubic feet per minute. Our XPOWER and B-Air axial fans move 3,000-4,000 CFM, and our Injectidry systems create directed negative pressure inside wall cavities. Without this velocity, moisture boundary layers stagnate at material surfaces, and drying stalls while microbial colonization continues.
What this means in practice: a flooded finished basement in the East Hill neighborhood that a professional crew dries in 72-96 hours with LGR dehumidifiers, axial fans, and cavity injection systems might take a homeowner two weeks with rented or purchased consumer equipment. At 72 hours, mold growth on organic materials is probable. At two weeks, it’s nearly certain.
We document this on every job. Our daily drying logs record ambient temperature, relative humidity, specific humidity, and material moisture content at multiple points. On a recent job near Lake Meridian, a homeowner’s DIY attempt with two rental dehumidifiers left the sill plate at 19% moisture content after 10 days. Our crew arrived, deployed Phoenix LGR units with Injectidry cavity drying, and reached 11% - the dry standard for softwood framing - in 52 hours. The 19% reading would have supported mold growth within the wall cavity, invisible until the drywall was disturbed years later.
The Insurance Reality: When DIY Costs You Money You Didn’t Need to Spend
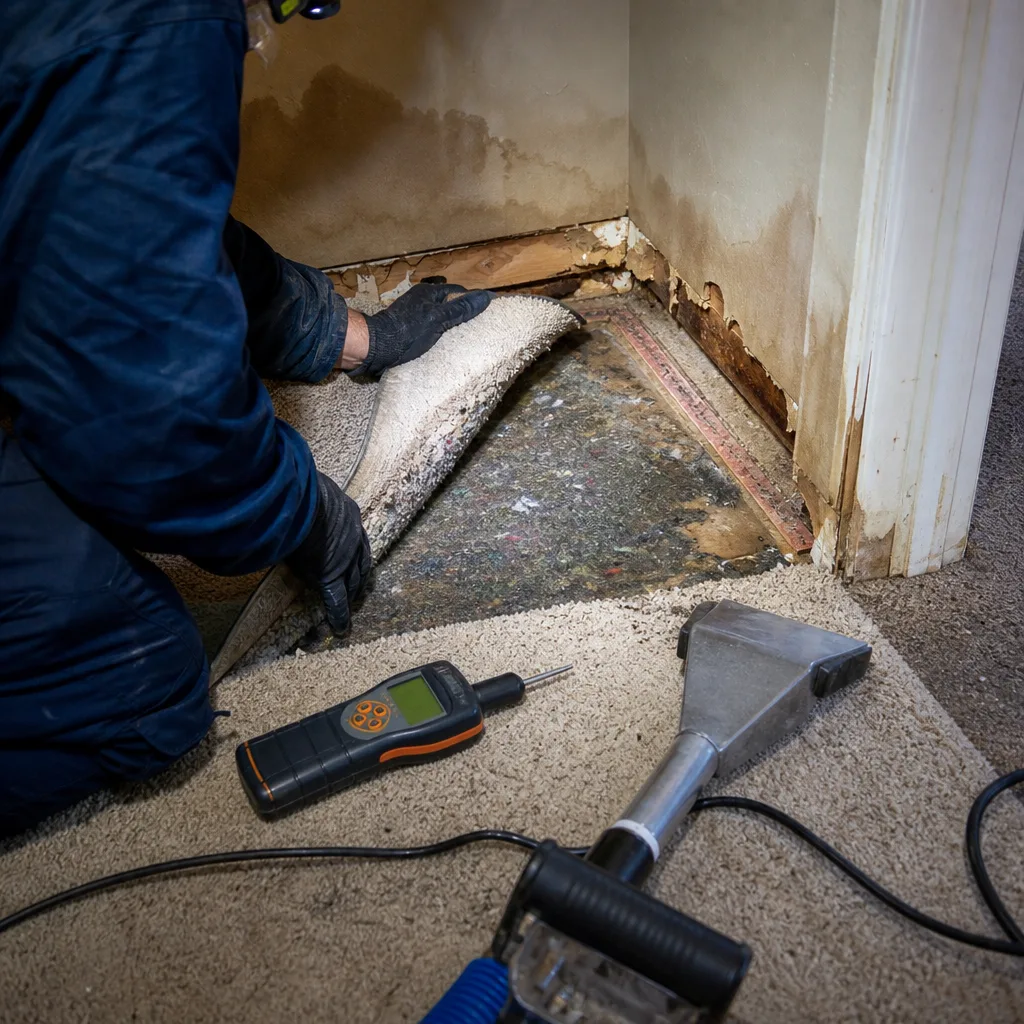
Standard HO-3 and HO-5 homeowner policies in Washington State cover sudden and accidental water damage, including the cost of professional mitigation, when the source is internal and not excluded. What they do not cover is the consequence of inadequate drying: mold remediation that becomes necessary because the initial mitigation failed.
Here’s the mechanism. Your policy likely includes language requiring “reasonable repairs to protect property from further damage” or similar. If you attempt DIY drying and mold develops, the insurer may classify the mold as resulting from maintenance neglect or failure to mitigate, not from the original covered peril. We’ve reviewed hundreds of claims files. The ones that get denied or limited are consistently those where the homeowner delayed professional response or self-mitigated without documentation.
The financial math is straightforward. Professional water mitigation for a typical Kent basement flood runs $3,500-$7,500, depending on affected square footage, category of water, and whether structural materials are involved. This is usually covered, minus your deductible. DIY costs might appear lower at first: $200-400 for equipment rental, $150-300 for cleaning supplies, perhaps $500-1,000 for materials you replace yourself. But if that DIY effort fails and mold remediation becomes necessary, you’re looking at $8,000-$15,000 for professional mold remediation, potentially without insurance coverage because the mold is now a secondary loss from unmitigated moisture.
Some policies in King County now include mold caps or sublimits, often $10,000. A failed DIY attempt can exhaust that cap on remediation that would have been unnecessary with proper initial mitigation.
There’s also the matter of documentation for future claims. If your Kent home suffers a second water loss, the insurer will request prior loss history. A documented professional mitigation with a drying certificate and photo record closes the file. An undocumented DIY attempt leaves open questions about pre-existing moisture conditions that can complicate or reduce your next settlement.
Water Damage Restoration in Kent through a documented professional process protects both your structure and your coverage.
The Three Documentation Outputs DIY Cannot Replicate
Professional restoration produces three deliverables - detailed in our water damage restoration maintenance checklist for Kent homeowners - that serve distinct purposes in insurance, real estate, and health verification. DIY produces none of them. Understanding what they are and why they matter clarifies when professional service is not an expense but a requirement.
1. The Daily Moisture Log
This is a time-stamped record of moisture content readings, ambient conditions, and equipment placement, updated every 24 hours until materials reach their dry standard. Dry standards vary by material: 11-12% for softwood framing, 5% for drywall, 4% for concrete subfloors relative to unaffected baseline. The log shows progression, proves that drying occurred within microbial growth timeframes, and demonstrates that equipment was sufficient for the load.
Insurers use this log to verify that mitigation was necessary and appropriately scoped. Without it, an adjuster has no evidence that the $4,200 dehumidification invoice represented actual drying rather than equipment rental for a space that would have dried passively.
2. The Photo Record
At DryMark Restoration Kent, we produce a documented photo record on every visit as a standard deliverable, never an upsell. This includes pre-mitigation images showing water migration patterns, equipment placement photos, daily progress documentation, and post-mitigation verification images. The record is date-stamped and organized by room.
For insurance, this proves the loss occurred as described and that mitigation addressed the actual damage. For real estate, it demonstrates that any prior water loss was professionally resolved, a disclosure point that increasingly affects buyer decisions in Kent’s competitive market. For the homeowner, it’s the evidence that protects against future disputes about whether a wall was opened, whether insulation was removed, or whether drying was verified.
3. The Drying Certificate
Upon completion, professional restoration includes a certificate or letter stating that materials have been returned to dry standards per IICRC S500 or S520 guidelines, with supporting data. This document is what home inspectors request when they see evidence of prior water damage. It’s what insurers file to close the claim. It’s what you provide your buyer’s agent when the disclosure form asks about water history.
A DIY job has no drying certificate. The homeowner’s assertion that “we dried it out” carries no weight with an inspector, no weight with an insurer reviewing a subsequent claim, and no weight with a buyer’s due diligence. The absence of documentation is treated as evidence of incomplete mitigation.
When DIY Genuinely Works: The Measurable Criteria
DIY mitigation is appropriate when all of the following conditions are met simultaneously. Deviate on any point, and the risk profile shifts to professional territory.
- Water category: Category 1, clean water from a broken supply line, sink overflow, or rainwater intrusion. Not Category 2 (gray water with detergents or urine) or Category 3 (sewage, seawater, or ground surface water).
- Affected area: Less than 10 contiguous square feet of wet materials. A single bathroom floor, a small closet, a section of kitchen counter.
- Material type: Hard, non-porous surfaces only. Tile, sealed concrete, vinyl plank, laminate with intact moisture barrier. No carpet, no carpet pad, no drywall, no insulation, no baseboards, no subfloor exposure.
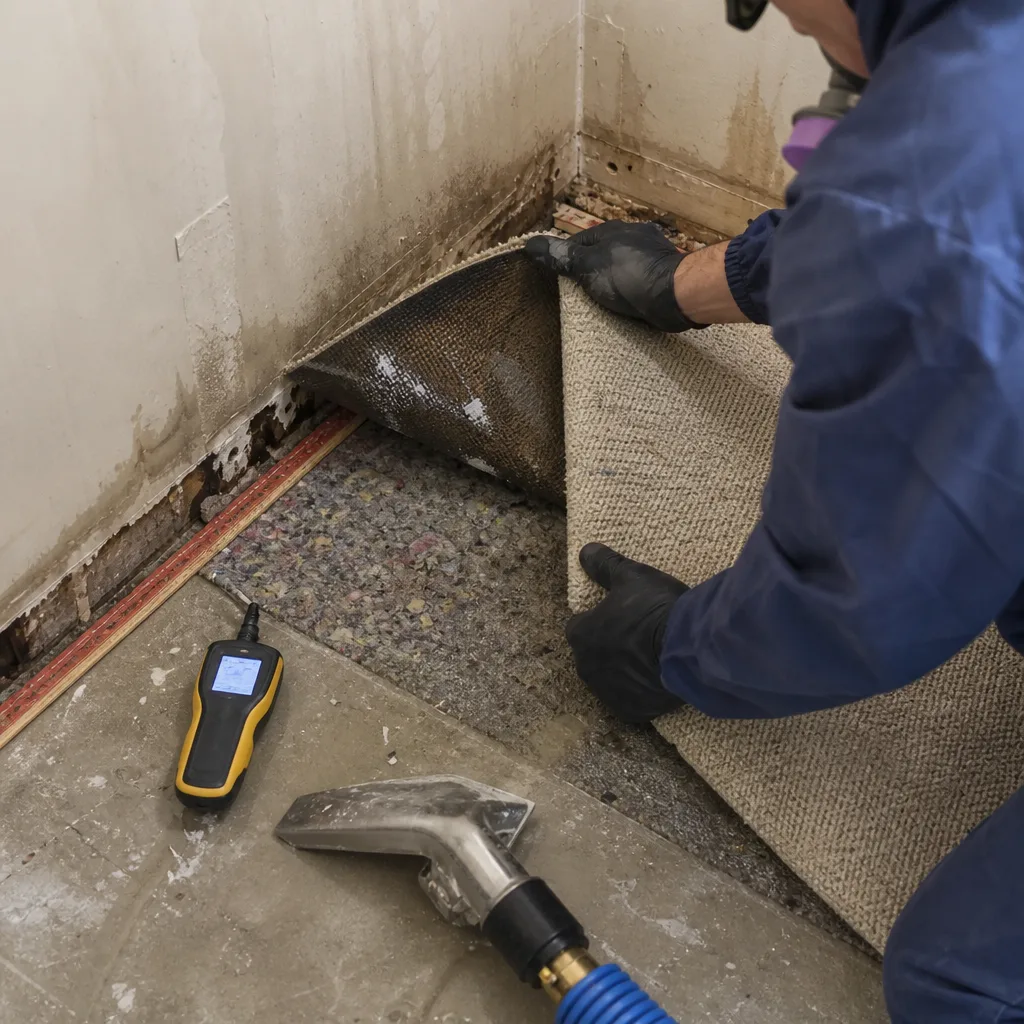
- Structural involvement: No water has reached wall cavities, no wicking into drywall, no saturation of structural wood. Verify with a moisture meter at baseplate level; readings within 2% of unaffected areas confirm no structural uptake.
- Time factor: Water present less than 24 hours. Beyond 24 hours, microbial colonization has likely begun even if not visible, and professional antimicrobial application becomes advisable.
- Ambient conditions: Outdoor humidity below 60%, temperature above 70°F, and active HVAC or dehumidification available. Kent’s winter conditions rarely satisfy this requirement from November through March.
- Documentation capacity: You own or can borrow a pin-type moisture meter, take dated photos, and record readings. Without this, you cannot verify completion.
Even when all criteria are met, the DIY approach should include: immediate water extraction with a wet/dry vacuum; application of an EPA-registered antimicrobial on affected surfaces; air movement with fans positioned to promote evaporation; dehumidification to below 50% RH; and moisture verification at 24 and 48 hours showing progression toward dry standards.
In our experience serving Kent since 2011 - and as outlined in our seasonal damage restoration care guide - the scenarios that genuinely meet all seven criteria represent perhaps 15% of the water losses we assess. Most homeowners underestimate water migration, particularly in slab-on-grade construction common in Kent’s post-1990 developments, where water travels horizontally under vinyl and laminate before appearing at distant points.
How to Evaluate a DIY Attempt That Already Happened
If you’ve already attempted DIY drying, or you’re evaluating a home purchase where the seller self-mitigated, there are specific measurements and inspections that reveal whether the job is documentably complete or a future liability.
Step 1: Moisture mapping with a calibrated pin meter. Test at 16-inch intervals along baseplates, at floor joist penetrations, and at the lowest point of any affected room. In Kent’s climate, readings above 15% in softwood or 1% above baseline in drywall indicate residual moisture requiring professional drying.
Step 2: Thermal imaging scan. A FLIR or similar camera reveals evaporative cooling at wet surfaces, showing moisture trapped behind apparently dry finishes. This is particularly valuable for evaluating wall cavities and ceiling spaces where DIY efforts rarely reach.
Step 3: Cavity inspection at suspect points. Remove baseboard or create a small inspection port at the lowest point of the affected wall. Check insulation for compaction or staining, and the back of drywall for mold growth or water staining. In Kent’s older homes near the historic downtown, balloon framing creates vertical channels that wick water far from the visible damage.
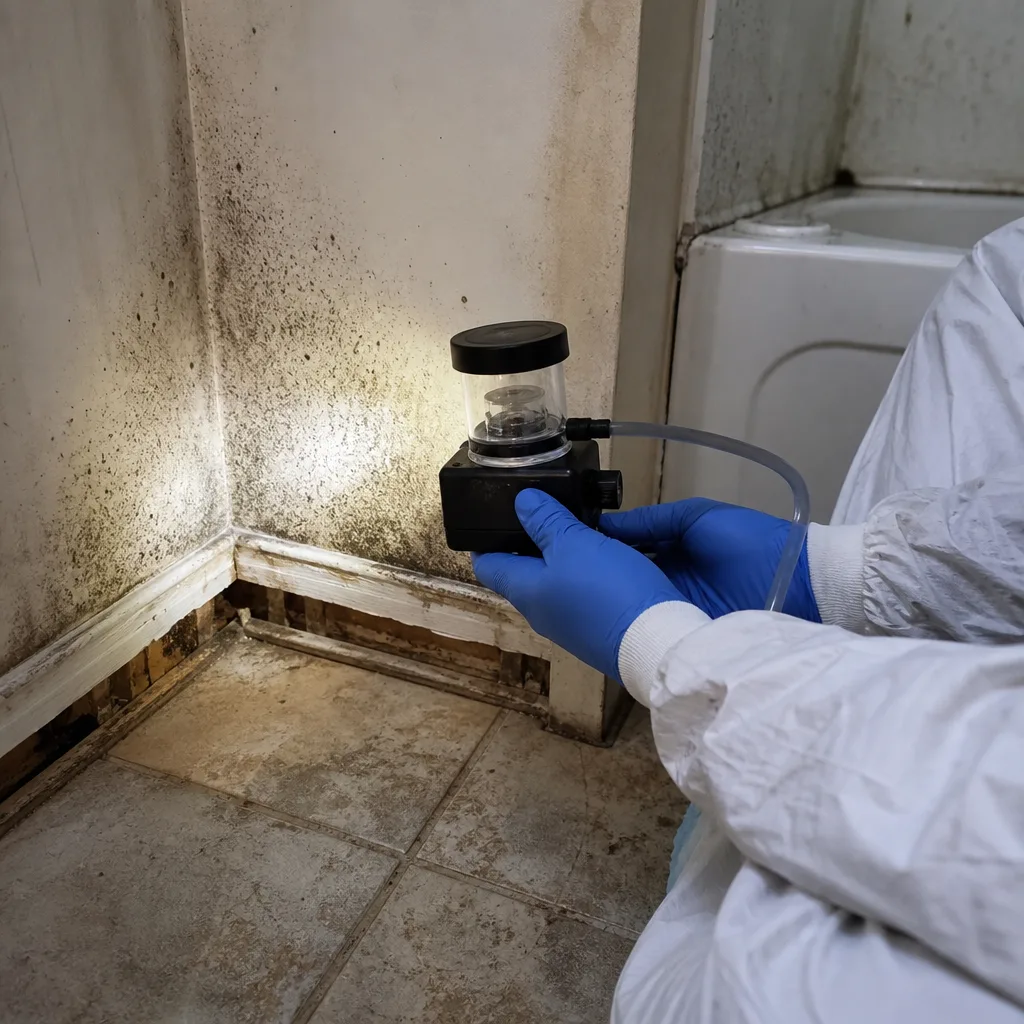
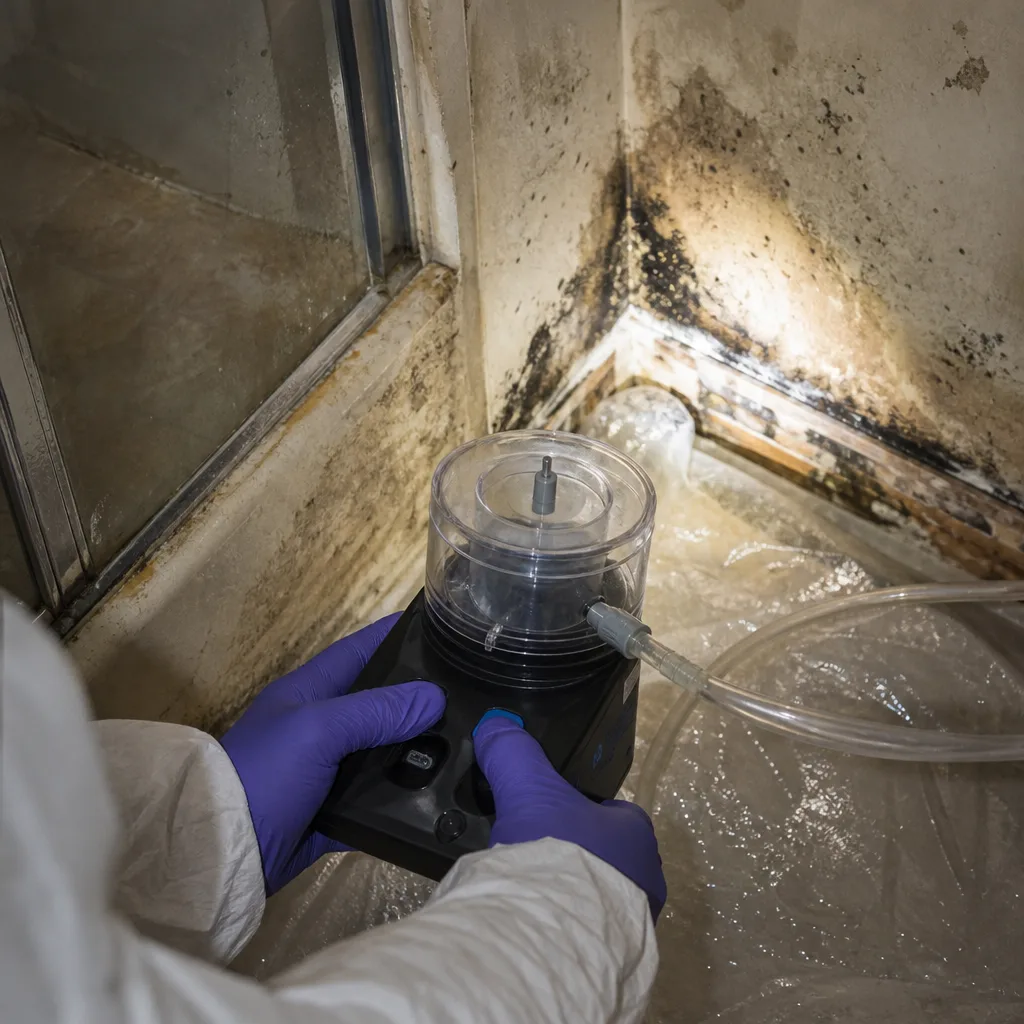
Step 4: Air quality sampling if mold is suspected. An ERMI or air spore trap sample, analyzed by an independent laboratory, provides objective data on whether microbial colonization has occurred. This is not a DIY test; it requires a certified inspector.
Step 5: Documentation review. Request any photos, receipts, or records from the DIY effort. Their absence is itself a finding. Professional mitigation produces a file. A story without a file is unverifiable.
We provide free second opinions on any written estimate, including evaluations of prior DIY work. Bring your moisture readings, your photos, or your home inspector’s report, and we’ll assess whether professional intervention is warranted. Haven Standard, Clause 1 applies: you’ll receive a written price before any work begins, with no obligation.
Health and Safety: What’s Actually in That Water
The water category determines personal protective equipment requirements and disposal protocols. It also determines whether DIY is medically advisable.
Category 1 water degrades to Category 2 within 24-48 hours of contact with building materials, and to Category 3 within 72 hours if microbial growth occurs. The clock starts when water contacts the structure, not when the homeowner notices it. A supply line break in a Kent home on Friday evening, discovered Monday morning, is no longer Category 1 regardless of its original source.
Category 2 water, or gray water, contains enough contamination to cause discomfort or sickness if contacted or consumed. Sources include dishwasher discharge, washing machine overflow, and sump pump failures. It requires gloves, eye protection, and respiratory protection for any significant exposure. Porous materials must be removed and discarded.
Category 3 water, or black water, includes sewage, seawater, and ground surface water. It contains pathogenic agents and requires full PPE including respirator, impermeable suit, and decontamination protocols. DryMark Restoration Kent home technicians are trained and equipped for Category 3 response; this is never a DIY scenario.
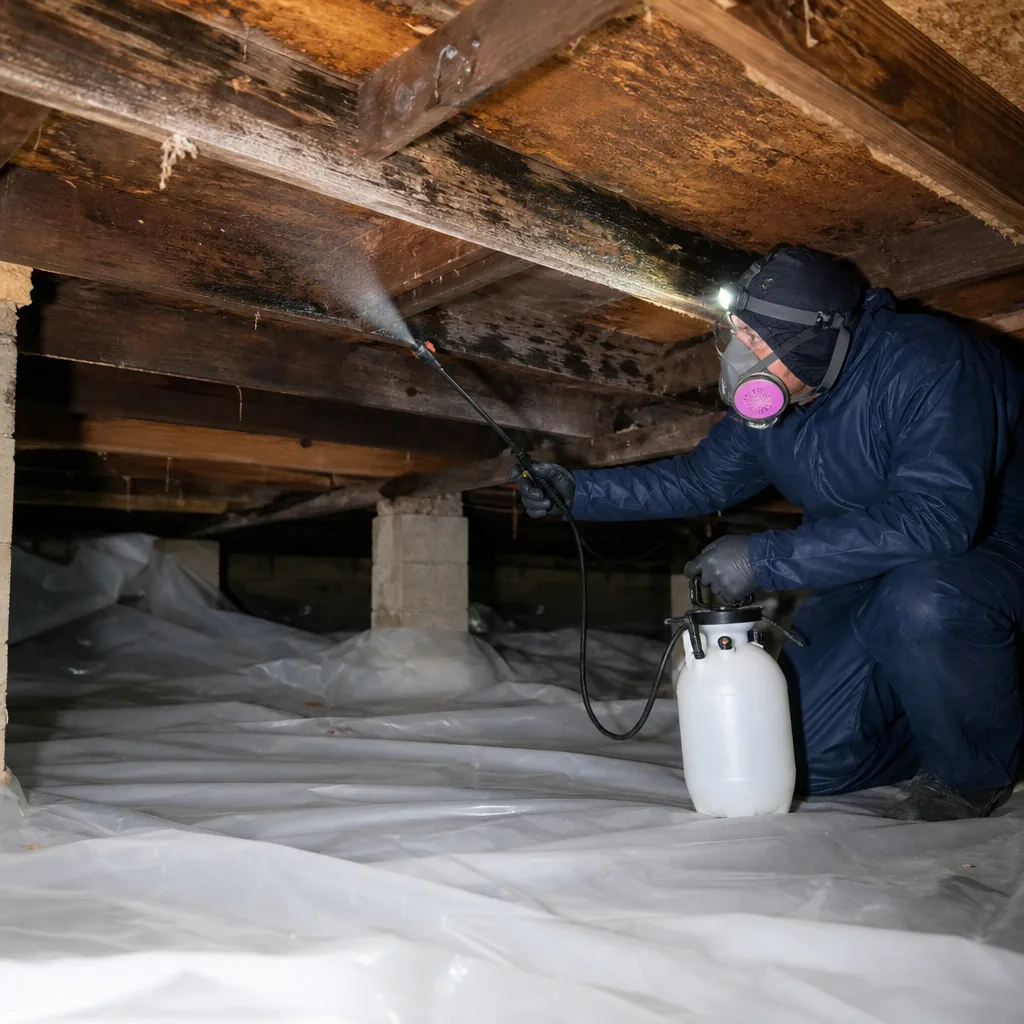
Mold exposure during DIY disturbance is a separate hazard. Disturbing visible mold without containment and negative air pressure releases spores at concentrations that can trigger respiratory response in sensitive individuals. We’ve responded to Kent homes where a homeowner’s attempt to “clean up some mold” with bleach and a scrub brush resulted in cross-contamination to three additional rooms and acute respiratory symptoms requiring medical attention.
Bleach is particularly problematic on porous materials. It kills surface mold but leaves the mycelium intact, and the water content of bleach solution can actually feed deeper growth. Professional mold remediation follows IICRC S520 protocols: containment, negative air, HEPA filtration, controlled removal, and post-remediation verification.
Mold Remediation in Kent requires documented containment and clearance testing, outputs that DIY cannot produce.
Real Cost Comparison: DIY Expenses vs. Professional Pricing in Kent
Transparency in pricing is why Haven Standard, Clause 1 exists. Below are the actual cost ranges we see in the Kent market for typical scenarios, with DIY equivalents where applicable.
| Scenario | DIY Cost Range | Professional Cost Range (Kent) | Typical Insurance Coverage |
|---|---|---|---|
| Small Category 1 spill, <10 sq ft, hard surfaces only | $150-$400 | $800-$1,500 | Less common; often below deductible |
| Category 1 basement flood, 500 sq ft, no structural materials | $400-$900 | $3,500-$5,500 | Standard, minus deductible |
| Category 1 with drywall and baseboard, 800 sq ft | $800-$1,800 (incomplete mitigation likely) | $5,500-$9,000 | Standard, minus deductible |
| Category 2 loss with carpet and pad removal | $600-$1,400 | $4,500-$8,000 | Standard, minus deductible |
| Category 3 sewage backup, any size | Not advisable | $7,000-$15,000 | Varies; sewage riders may apply |
| Mold remediation following failed DIY drying | $300-$800 (surface treatment only) | $8,000-$15,000+ | Often denied or capped |
The DIY column assumes equipment rental from a home improvement store, cleaning supplies, and disposal fees. It does not assign value to labor time, which typically runs 15-40 hours for a significant water loss. It also does not include the cost of professional correction if the DIY attempt fails.
Professional pricing includes extraction, equipment deployment, daily monitoring, material removal as needed, antimicrobial application, and the three documentation outputs. Our written price, delivered before work begins under Haven Standard, Clause 1, itemizes each component so you understand what you’re paying for and what your insurer is being asked to cover.
For fire and smoke damage, the cost comparison is less relevant because DIY is rarely appropriate. Smoke residue contains acidic compounds that continue degrading surfaces until professionally cleaned, and odor removal requires thermal fogging or ozone treatment beyond consumer capability. Fire & Smoke Damage Restoration in Kent pricing ranges from $4,000 for light smoke damage to $25,000+ for structural involvement, with documentation requirements that parallel water mitigation.
Common Mistakes to Avoid
- Renting a carpet cleaner instead of extracting water. Carpet cleaning machines spray water; they don’t remove it efficiently from pad and subfloor. We’ve found saturated OSB subfloors in Kent’s Meridian Valley area where homeowners ran a Rug Doctor for days, adding moisture rather than removing it.
- Using household bleach on moldy drywall. Bleach evaporates before penetrating drywall, leaving viable mold behind while creating a false sense of completion. The moisture in bleach solution can worsen the problem.
- Drying only what you can see. Water follows gravity and capillary action. In Kent’s slab construction, it travels under flooring to appear at baseboards ten feet from the source. Surface drying masks migration that continues in concealed spaces.
- Discarding damaged materials before the insurance adjuster inspects. Your policy requires you to protect property from further damage, but not to destroy evidence of the loss. Photograph everything before removal, and keep samples if possible.
- Assuming “it feels dry” means it is dry. Human tactile perception detects surface moisture only. A wall that feels dry to touch can register 80% relative humidity in the cavity, well within mold growth range.
- Delaying professional assessment to “see if DIY works.” The 24-48 hour microbial growth window doesn’t pause for your experiment. By day three, a containable Category 1 loss can become a Category 2 or 3 requiring more extensive remediation.
- Ignoring Kent’s seasonal humidity. Opening windows in July might help; opening them in January introduces more moisture. Kent’s winter air is saturated, and passive drying is functionally impossible from November through March.
When to Call a Professional
Call a professional when any of the following apply: water has affected drywall, insulation, or structural materials; the water source is Category 2 or 3; the affected area exceeds 10 square feet; more than 24 hours has passed since water intrusion; you smell mustiness but cannot locate the source; or you need documentation for insurance, real estate disclosure, or peace of mind. See our more guides & resources for additional homeowner guidance.
DryMark Restoration Kent offers free estimates in Kent. Our live person answers every call, 24 hours a day, 7 days a week, with no voicemail on emergency lines. You’ll receive a written price before any work begins, every time, with no exceptions. Call (360) 997-2427.
Frequently Asked Questions
Professional water damage restoration in Kent typically ranges from $3,500 for a contained basement flood with no structural materials to $9,000 for a multi-room loss with drywall and flooring involvement. Category 3 sewage losses or those requiring extensive demolition start at $7,000. We deliver a written price before work begins under Haven Standard, Clause 1, so you know exactly what you’re committing to. Call (360) 997-2427 for a free estimate specific to your situation.
Yes, if the original loss was a covered peril, but with important caveats. Your policy covers reasonable mitigation costs, and switching from DIY to professional mid-process is common. However, any damage resulting from inadequate DIY efforts, such as mold growth from incomplete drying, may be classified as secondary loss from failure to mitigate and denied or limited. Document your DIY actions with photos and notes, and call us for a free second opinion on whether professional intervention is warranted to protect your coverage.
Our live person answers every call 24 hours a day, 7 days a week, with no voicemail trees. For active water losses in Kent, we typically deploy within 2-4 hours during normal conditions and prioritize based on active water flow and safety hazards. Speed matters because microbial growth begins at 24-48 hours, and every hour of delay increases restoration scope and cost. Call (360) 997-2427 for immediate response.
Possibly, but coverage is increasingly limited. Many Washington State policies now include mold sublimits, often $10,000, and some exclude mold entirely unless it results from a covered water loss that was promptly and professionally mitigated. If your mold resulted from DIY drying that left residual moisture, the insurer may argue that the mold is due to negligence in mitigation rather than the original covered peril. Professional documentation from the initial loss significantly improves coverage prospects.
You receive three core documents: a daily moisture log showing equipment readings and material moisture content progression; a dated photo record of damage, mitigation, and completion; and a drying certificate or completion letter stating that materials have been returned to dry standards per IICRC guidelines. At DryMark Restoration Kent, these are standard deliverables on every job, never upsells, and they form the basis of successful insurance claims and clean home inspection reports.
No. Smoke residue contains acidic compounds that continue degrading surfaces until professionally cleaned with appropriate chemistries. Odor removal requires thermal fogging, ozone, or hydroxyl treatment beyond consumer equipment. Additionally, fire damage often involves compromised electrical systems, structural instability, and hidden char in wall cavities that require professional assessment. Fire & Smoke Damage Restoration in Kent should always be handled by IICRC-certified technicians with documented safety protocols.
The Bottom Line
The DIY versus professional question in damage restoration resolves to documentation and drying physics, not handiness or cost preference. Consumer equipment cannot achieve the vapor pressure differential or air velocity to dry structural materials within microbial growth timeframes, particularly in Kent’s high-humidity climate. DIY produces no moisture log, no photo record, and no drying certificate, leaving you exposed to insurance denial, failed inspection, and hidden mold. For Category 1 water under 10 square feet on hard surfaces with no structural involvement, DIY is viable with proper measurement. For everything else, professional mitigation is the lower-risk, often lower-cost path when secondary damage is accounted for. The output that matters is not whether the room looks dry, but whether you can prove it is dry, to an insurer, an inspector, and a future buyer.
Written by Alicia Brennan, Owner at DryMark Restoration Kent, serving Kent since 2011.